Tuesday, June 8, 2010

Rudder's almost done

Well, we're almost at the point of rudder completion- the only major task left is riveting the dreaded trailing edge!  I'll be looking for a length of steel for a bucking surface for this, as I've read elsewhere that one of these can be pretty helpful to have. Also, I think I'll be using the '2 pieces of aluminum channel method' to sandwich the trailing edge while the Proseal cures, as shown on Mike Nipp's website. Good tip!

My friend Tareque stopped by the shop on Saturday, and brought my new friends Jeff and Aswin along for a tour. They had a lot of good questions, and it was good to meet some new people. Come back anytime and help out, guys  :)


Here, we have the rudder skeleton parts laid our after all pre-finish work and priming. Let's get to riveting!


The first thing to do is bind the doublers and nut plates to the spar.


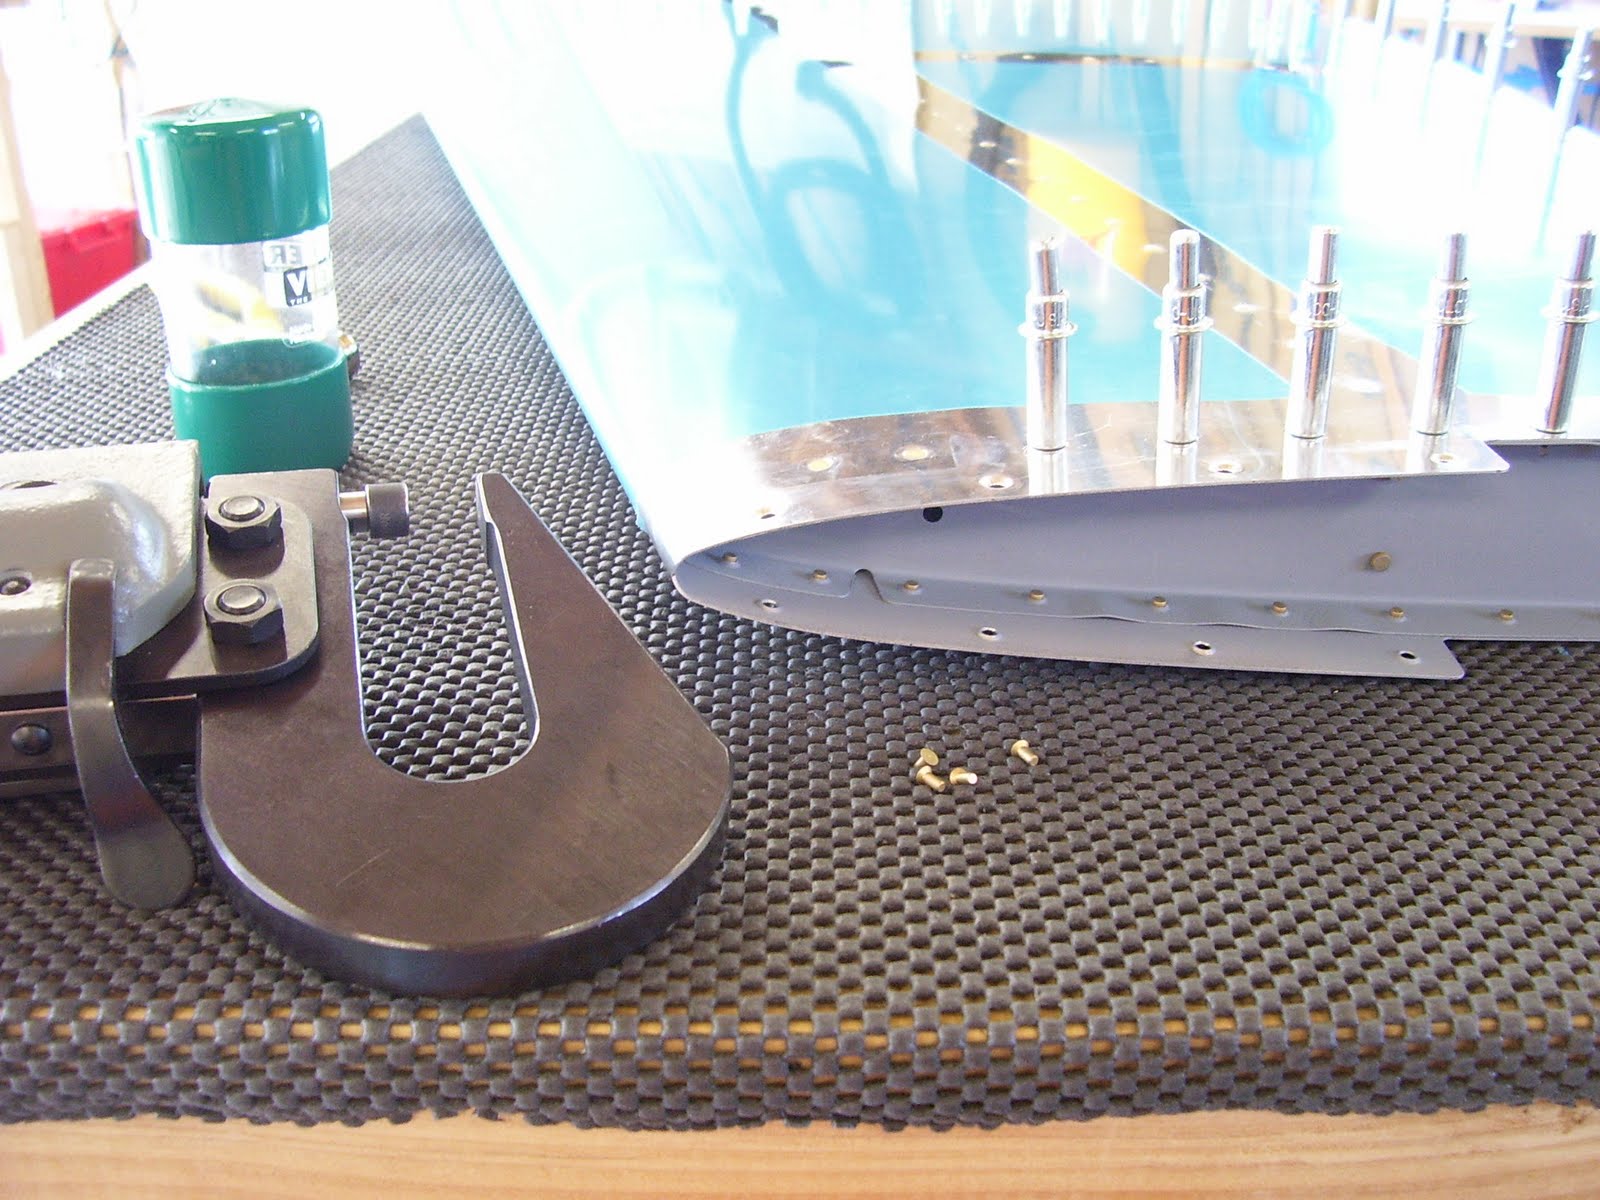
Here I am squeezing a rivet on the rudder horn using my longeron yoke. This was quite a metal sandwich; I think it was 4 pieces thick if you count the nut plate. That's a lot of dimpling and countersinking!


All finished here. This is a good shot of a nut plate- a piece of hardware that I'd never seen before starting this project. Eventually there will be swivel eye bolts installed here, which will form the hinge for the rudder.


Back at the top of the spar, I clecoed the counterweight rib to the spar, and then the counterweight skin to the rib. The rib got riveted to the spar, and the skin to the rib only (not the spar) for the moment. 


And, here's the lead counterweight bolted to the counterweight rib. I've read where other builders have had to trim this weight a bit in order to make it fit, but I had no difficulties. Hope I didn't use up all my good luck! I used my torque wrench here to get 25 in/lbs of torque on the bolts.


Now we start riveting on the skins. Let me say this right here: I am very grateful to all who have gone before me, and documented their RV projects so well. Without all the excellent information out there, I would doubtless have made many more mistakes on my own kit. Thanks to you all! Here's a closeup of where the counterweight skin interfaces with the main rudder skin, spar, and counterweight ribs. There are several different AN426 rivet lengths use here, so i borrowed Brad Oliver's idea and marked up the areas to be riveted. I used the 4" no-hole yoke on my squeezer for 99% of the skin rivets.


Here's a good shot of the top rib, secured to the skin. Note the Pop rivets used to attach the rib to the spar.


Almost done with the top rib/skin riveting.After two failed attempts at getting AN rivets in there, I ended up using blind rivets on the last 2 holes- oh, well.


Here's a nice view of the rudder bottom; control horn, horn brace, and bottom rib. All these were set with th e 4" no-hole, except for inside the horn brace- I used my longeron yoke there.


And here we are! In reality, all the clecoes are gone now, replaced with rivets. The only tasks left are riveting the trailing edge, rolling the leading edge, and a few other details which I'll document in the next installment. As always, any questions and constructive comments are encouraged. Hope you're enjoying this project as much as I am!


Due to business travel and a camping trip I'll be taking a break for a few weeks. Enjoy the summer weather, everyone! Seeya soon  :0)

Monday, May 31, 2010

Happy Memorial Day Weekend!

Wife and I spent a lot of time out of the house this weekend, lots of fresh air and BBQ- excellent! Ended up doing more work around the house than in the shop.


The garden is looking good! We harvested some spinach this evening and cooked it up with some garlic and butter, yum.  :) Also growing tomatoes, carrots, broccoli, sweet peas and peppers.


Also did a little mulching around the front of the house this weekend- red mulch was on sale at a great price, and I think it turned out looking pretty good!


I did get a little time in the shop on Monday, and installed a window a/c unit. 8000 BTUs really takes the edge off, and will allow me to use the shop year-round. This was a tough install, as my garage windows are horizontal sliders... I ended up having to custom fit the unit. It really moves the cold air!

As for the RV-7 build, there has been a lot of dimpling, deburring and edge-finishing going on, and now I'm trying to figure out how to dimple a few tough spots on the ribs; there's just not very much room to work on some of these parts. Once I get over this minor hump, I'll post pictures and get back to work. Enjoy the summer weather, y'all.


Friday, May 14, 2010

Back to it! Rudder work in progress.


Building the rudder is definitely sharpening my skills. There's a bit more hand work here in the form of skin stiffeners and shims, and the thin skins are much easier to damage. There were a few minor mishaps on the way, but overall I'm happy with my progress. See below-  ;0)


               For the first bit of fab work, these pieces of angle are cut in 1/2, to yield 2 skin stiffeners each. The stiffeners will be riveted to the skins, and will add rigidity to the finished structure.


The plans have a diagram to follow. I used my handy metal shears to make the rough cuts, and finished with the scoth brite wheel. This is a bad photo; there are really only 3 lines marked to cut, but the shiny metal reflected a 4th one for the camera!


The scotchbrite wheel comes in handy for this kind of work.


----------------------------------------------------------------------------------------------------------------------------

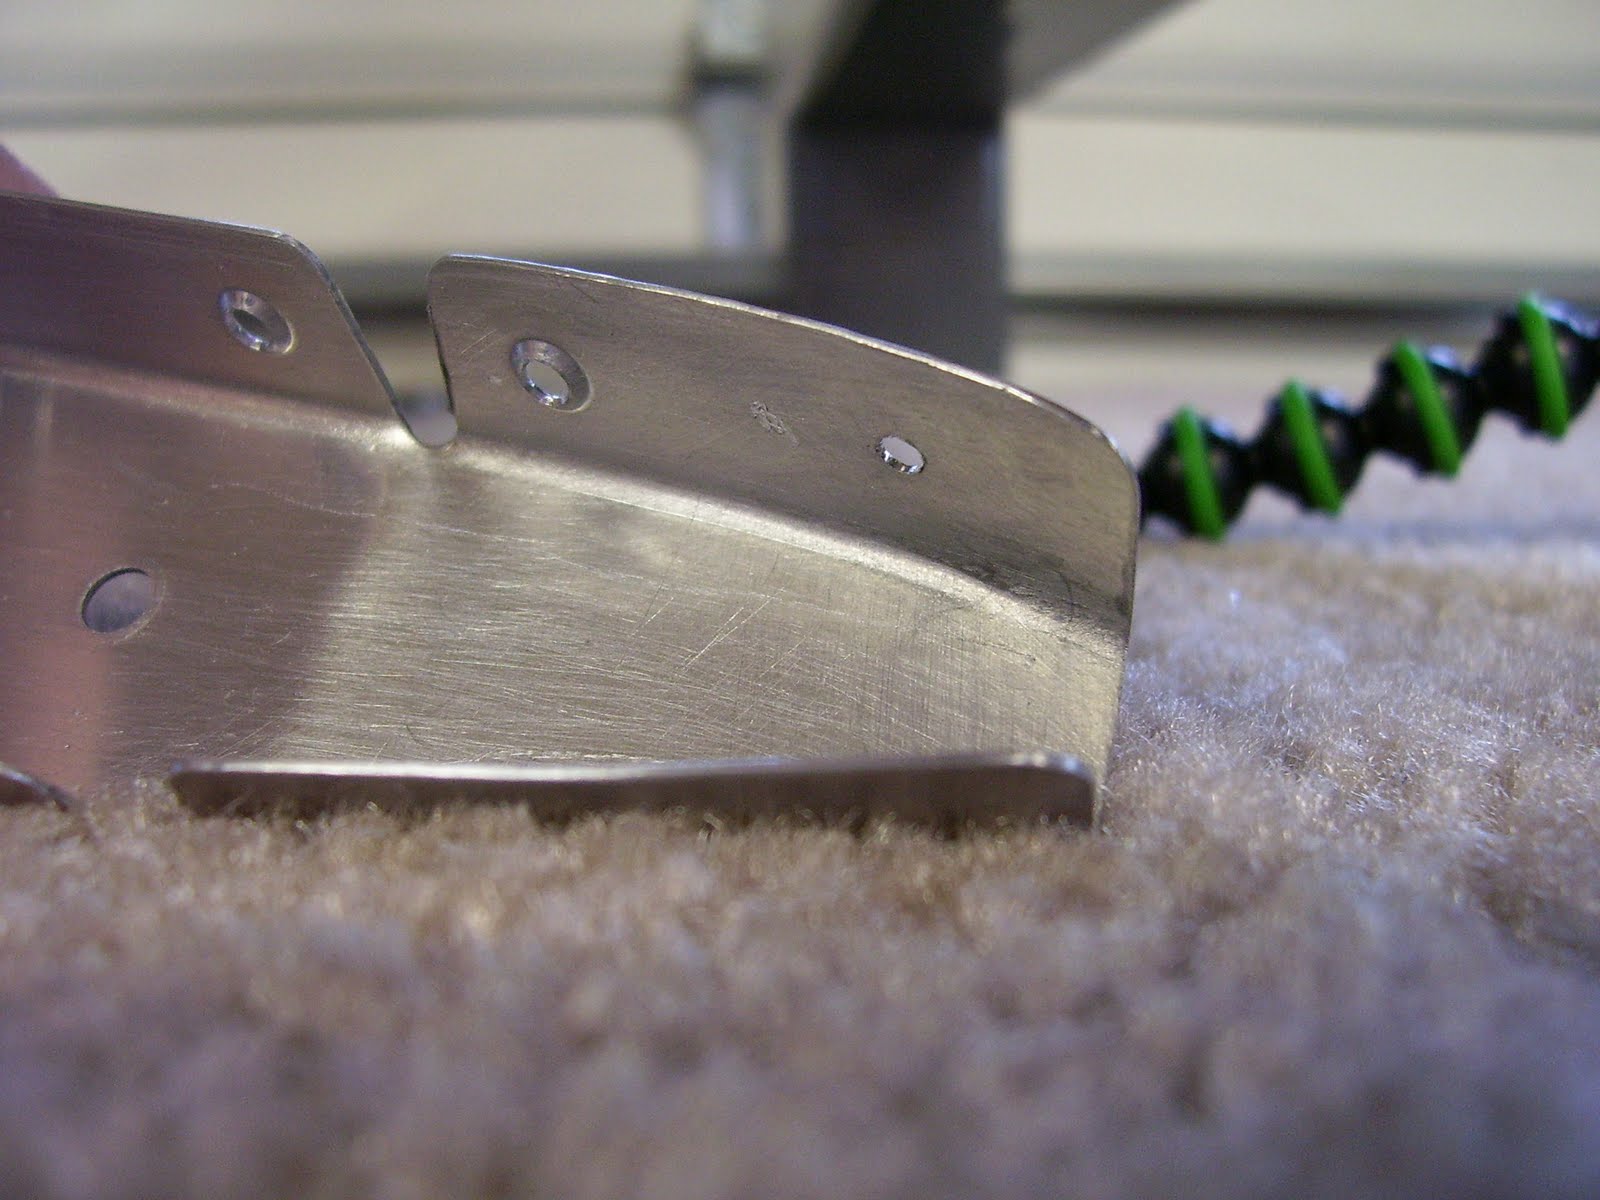
I mishandled a stiffener, and it developed a small crack. Instead of trashing it and starting from scratch, I drilled and radiused the crack and ended up with this. No real sacrifice in strength because of size and location of the dressed area, and now there will be no crack to spread over time and break the part. I've seen A&P's use this trick with metal and plastic.


And here we have all the stiffeners duburred, radiused ready to go.


The next step is match-drilling.


I used a piece of 3/4 MDF as a backing material for drilling the stiffeners to the skins.


...and here's where we ran into a problem. You can see from this image that I got a little sloppy when drilling this hole. Thankfully a moment of inattention didn't ruin my whole day! I happened to have just the cure for that ugly hole.


Here we have a selection of NASD1097 rivets, better known as Oops Rivets. From trolling thru forums and reading other builders' sites,  I'd come across the opinion that having a few of these around was a good thing -so I ordered small quantities of each size from Van's. From what I'd read, these little guys can come in pretty handy. Little did I know it would be so soon!


The premise behind these specially-sized rivets is this: you can drill out a hole if you need to but still keep the smaller-sized flush head. Click on the pic for a full view, and you'll see what I mean. Pretty slick, eh?


OK, back to assembly. The method that gives best results in this case is back-riveting. This means that the factory head of the rivet rests on a steel plate (which acts as the bucking bar, in essence), and the shank of the rivet is attacked with the pneumatic gun and an attachment called a back-rivet set. It's basically a steel shaft with a spring-loaded collar, the collar serving to hold the pieces to be riveted together as the hammer is applied.

Here I am taping the rivets into place with some Scotch removable tape... 


...and now the rivet gun. Obviously, everything has already been deburred, dimpled and primed at this point.


Everything turned out ok! Back-riveting is the easiest task I've had yet. Here are the stiffeners...


...and you can see how nice the factory heads look on the rudder skin. Stay tuned, lots more rudder work to be had!  :)


Saturday, May 1, 2010

Rain delay in effect

Hey gang, just wanted to let you know that I'm still here and still building! Work has been making a lot of demands these past couple weeks, so nothing has gotten done in the shop. Seeya next Sunday, as we tackle the rudder assembly.

:o)

Sunday, April 18, 2010

Vertical Stabilizer complete!

OK, all prep work is done, on to the assembly phase  ;)


Here I am using my pneumatic squeezer to bind the rear spar to the rear spar stiffener. We'll also attach the hinge brackets at this time.


The completed rear spar.


 Here is the internal skeleton clecoed together, ready to rivet. These rivets will be squozen as well. Yes, squozen is a word.  :)


All the internal rivets are shot & bucked with the rivet gun and bucking bar. I'm really glad I opted for the tungsten steel bar when purchasing my tools. This little chunk of metal is really massive, I believe almost as dense as depleted uranium? Regardless, it makes bucking rivets an easy task.
 

The tools in question. Gun has a swivel mushroom set attached.


When it came time to rivet the edges of the skin, I broke out the 4" no-hole yoke for my squeezer. This made it easy to get the leading-edge rivets done.


These holes are left open. This is where the fiberglass fairing will attach, later in the process. The first and third holes from the left still have to be finished in this photo.


And, drum roll please...


                             ..."Experimental  table N904P, cleared for takeoff 23R, maintain runway heading till 1000'..."


Pretty sweet, huh? Lots of work left to do on this sub-kit, but I'm already thinking about ordering the wings.


Here's how I'm storing the completed assemblies. I found some straps at my local Ace Hardware, padded the tops with foam, and voila! Time to get to work on the control surfaces. Seeya soon!

Vertical Stabilizer, part II

Well that was fast! Between last weekend and this one, I got a lot done in the shop. With a lower parts count, the Vertical Stabilizer was a lot simpler than the HS. The same tasks were involved as before, but you're already relying more on the plans than the written instructions. I understand from reading other builders' logs that this trend continues as you get further into the kit. At this point in the project, I can say that I'm no longer afraid of shooting rivets with the gun and bucking bar. I actually enjoy it! There are definitely times where it is the best method available to you, and it gives this project the feel of artisan-level work- enjoyable and  very personal.

Anywho, here I am using my microstop cage to sink certain holes on the rear spar stiffener. These countersunk holes will then match up to holes in the rear spar which have been dimpled. Then this "sandwich" will be riveted together giving the spar greater strength. 


Dimpling holes on the rear spar...

...and on the skin. The DRDT-2 makes perfect, crisp dimples every time.

Here's a tight spot. I couldn't fit my standard dimple dies into the small space between the webs of this rib. Never fear, though- they make a tool for that!


Said tool involves 2 small dimple dies, a standard nail, and a pop-rivet puller. You can see from the pic that the nail acts as a mandrel for the dimple dies, and allows you to squeeze them sufficiently to get a nice, crisp dimple.


Here we are putting the paint booth to use...


...and enjoying the finished, primed product.