Well that was fast! Between last weekend and this one, I got a lot done in the shop. With a lower parts count, the Vertical Stabilizer was a lot simpler than the HS. The same tasks were involved as before, but you're already relying more on the plans than the written instructions. I understand from reading other builders' logs that this trend continues as you get further into the kit. At this point in the project, I can say that I'm no longer afraid of shooting rivets with the gun and bucking bar. I actually enjoy it! There are definitely times where it is the best method available to you, and it gives this project the feel of artisan-level work- enjoyable and very personal.
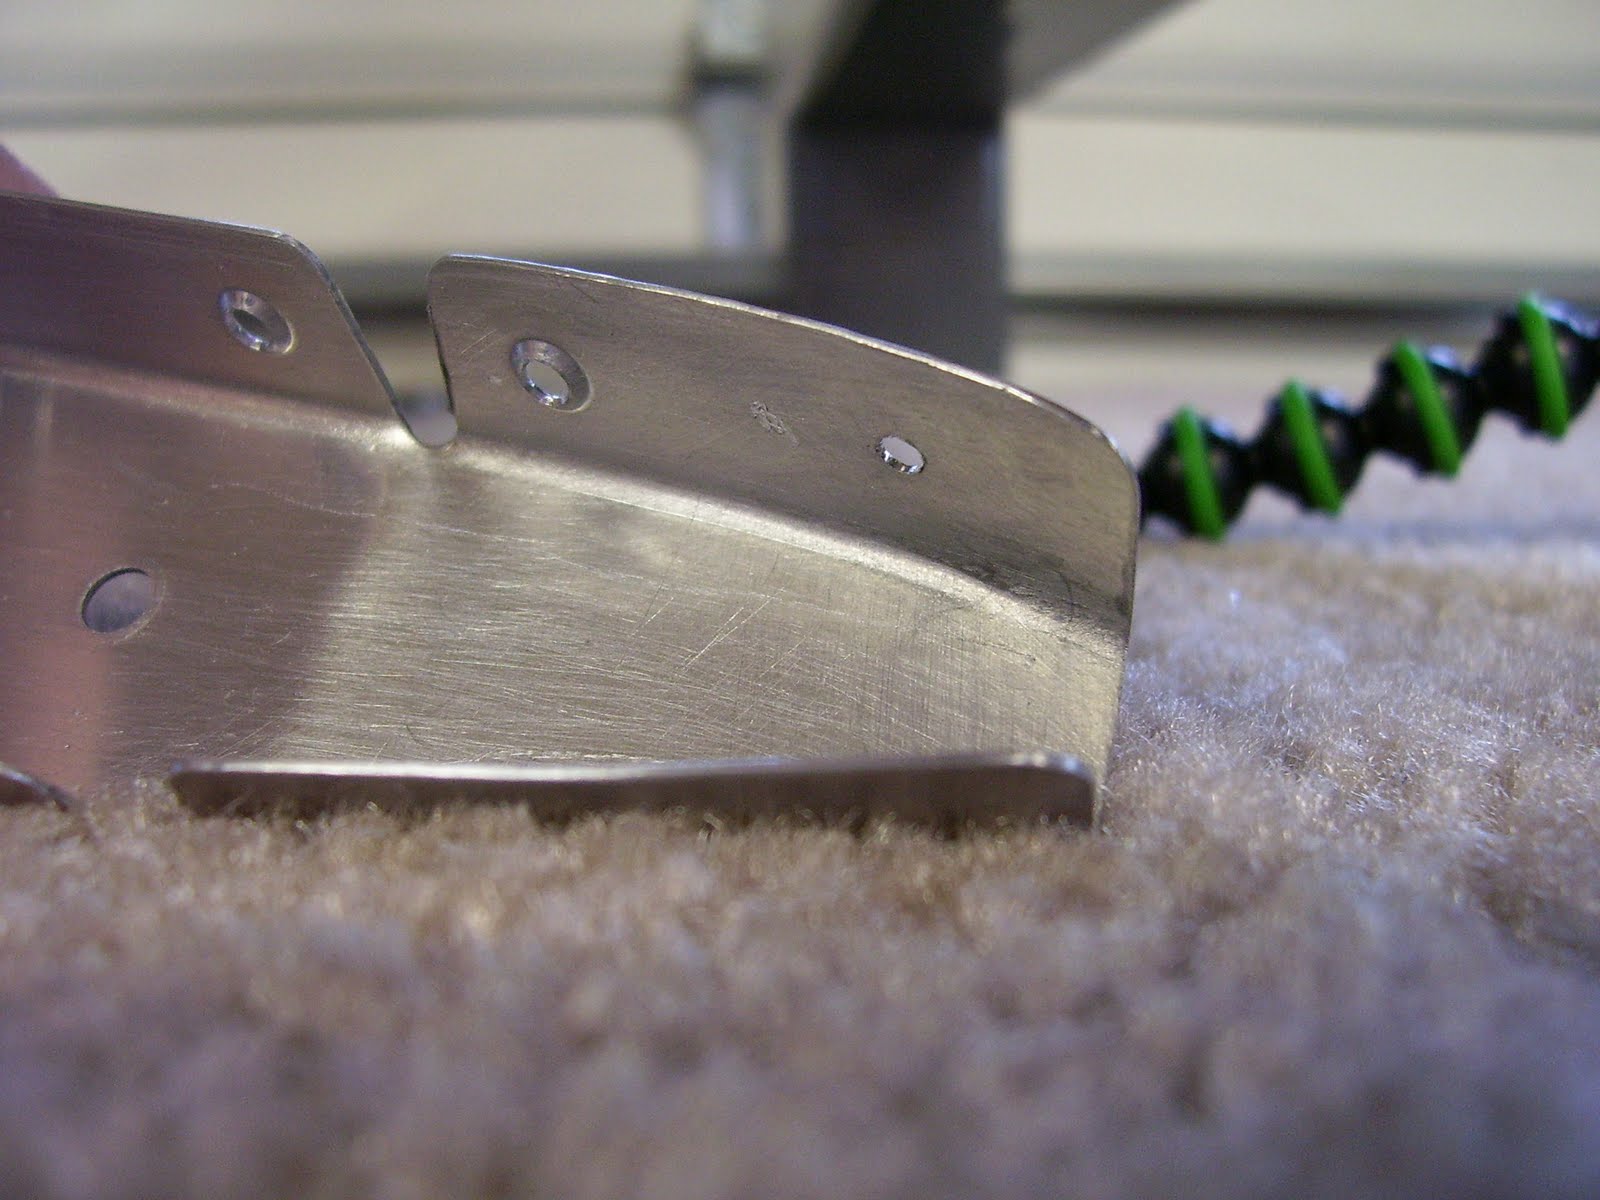
Anywho, here I am using my microstop cage to sink certain holes on the rear spar stiffener. These countersunk holes will then match up to holes in the rear spar which have been dimpled. Then this "sandwich" will be riveted together giving the spar greater strength.

Dimpling holes on the rear spar...

...and on the skin. The DRDT-2 makes perfect, crisp dimples every time.

Here's a tight spot. I couldn't fit my standard dimple dies into the small space between the webs of this rib. Never fear, though- they make a tool for that!


Here we are putting the paint booth to use...

...and enjoying the finished, primed product.

No comments:
Post a Comment