
Here I am using my pneumatic squeezer to bind the rear spar to the rear spar stiffener. We'll also attach the hinge brackets at this time.
The completed rear spar.

Here is the internal skeleton clecoed together, ready to rivet. These rivets will be squozen as well. Yes, squozen is a word. :)

All the internal rivets are shot & bucked with the rivet gun and bucking bar. I'm really glad I opted for the tungsten steel bar when purchasing my tools. This little chunk of metal is really massive, I believe almost as dense as depleted uranium? Regardless, it makes bucking rivets an easy task.

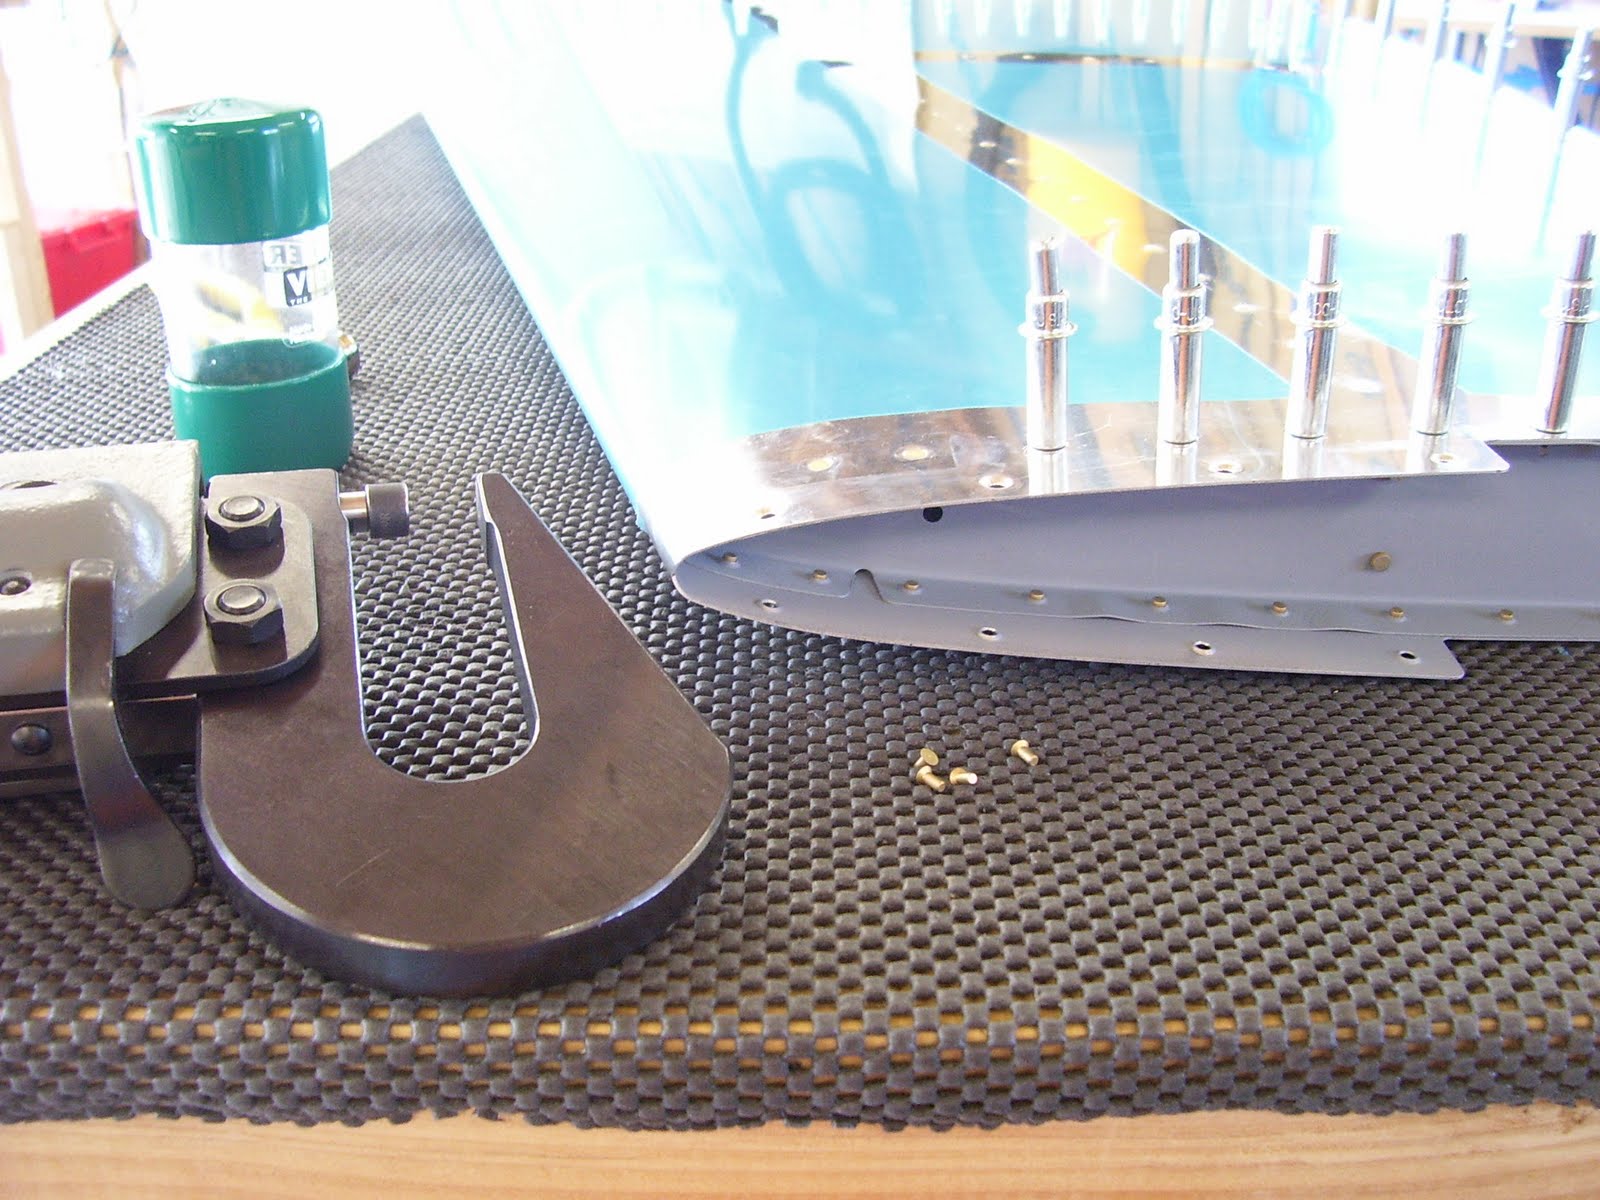
The tools in question. Gun has a swivel mushroom set attached.

These holes are left open. This is where the fiberglass fairing will attach, later in the process. The first and third holes from the left still have to be finished in this photo.

And, drum roll please...
..."Experimental table N904P, cleared for takeoff 23R, maintain runway heading till 1000'..."

Pretty sweet, huh? Lots of work left to do on this sub-kit, but I'm already thinking about ordering the wings.


No comments:
Post a Comment